Sunday, December 1, 2013

Salmon with Tomato and Ginger Couscous

Looks like grizzlies in B.C. won't be getting their fair share of salmon before winter this year, as salmon runs are becoming less frequent in rivers and streams: Salmon Shortages Stressing Out Grizzlies. I'm a grumpy bear when I wake up hungry too, so who can blame the grizzlies if they're a little grouchy? Although BC residents should be careful on the trails this spring...remember don't run away or climb trees. 

In the midst of empathizing for the bears and their salmon woes, this article really got me thinking about having salmon for dinner. Salmon is probably my most favorite fish in the whole world...next to rainbow trout, snapper, and halibut to name a few. Salmon is succulent in all its forms: raw, smoked, fried, or baked...no matter how it's done, I want it. 

This recipe is really quite simple to prepare. Just be sure to have at least 4 dishes ready to go and be patient with the tedious steps involved. This salmon and couscous dinner is based off Nigella Lawson’s recipe “Lemony Salmon with Cherry Tomato Couscous” where fair warning is also given about the many bowls used in this recipe. Adding ginger to couscous blew my relationship with durum wheat to another world, so the work is well worth the effort. 


You'll need:

200g couscous
1 ½ teaspoons regular salt

½ teaspoon paprika
1 tablespoon freshly grated ginger
1 cup boiled water
½ small red onion, finely chopped
Zest and juice of 1 lemon
4 minced garlic cloves
1 tablespoon olive oil
300g cherry tomatoes
2 salmon fillets
4 tablespoons fresh coriander


Place the 200g of couscous in a heat proof bowl along with 1 teaspoon of salt, 1/4 teaspoon of paprika and 1 tablespoon of freshly grated ginger.
Be sure to peel the ginger before grating it. It's also much easier to grate frozen ginger because it's less stringy. For this reason, I usually have peeled ginger in the freezer for recipes like this one. 

Stir together the couscous, salt, paprika, and ginger. Then add 1 cup of boiled water. Quickly cover the bowl with a plate and set aside. 

Chop 1/2 of the small red onion into fine pieces. Place in a bowl and set a side. 

Select a wide and shallow dish which will be used to place the salmon in later. Grate the lemon zest into the dish. 

Using the same lemon, squeeze out the juice and add to the bowl of chopped onions. 

Back to the lemon zest dish, add 1/2 teaspoon of salt, 1/4 teaspoon of paprika, 1 teaspoon of olive oil, and 2 minced cloves of garlic.

After washing 300g of cherry tomatoes, half them lengthwise and transfer to a bowl. Then stir in 1 teaspoon of olive oil and 2 minced cloves of garlic. 

Heat a large fry pan for the salmon. Take both fillets and turn them in the zest dish so they're covered with lemon zest, paprika, olive oil, garlic, and salt. 

Place the seasoned salmon on a hot fry pan and cook for 2-3 minutes per side, of course, this will depend on the thickness of your fillets. Be sure the salmon is cooked enough so that you can use a fork to separate the layers of fakes in each fillet.

While the salmon is frying, go back to the couscous and fluff it up with a fork. Add the tomatoes and onion, and stir together so everything is evenly combined. Then chop 4 tablespoons of coriander and stir it into the couscous.
I didn't have fresh coriander on hand and left it out of the recipe.

Spoon some couscous onto the same plate as the salmon and enjoy with some cold and crisp white wine.

TIP: No one needs that much couscous with this dish as shown in the above photo. Half of that amount will be more than enough. Also, the coriander adds more colour to the overall look of the dish. Garnish with a lemon, and you're friends will be talking about this dinner for weeks. 

Sunday, November 17, 2013

Classic Chocolate Layer Cake

It may be surprising, but being a pescetarian has not affected my freedom of choice when it comes to dessert. If I could, I would have a cup of coffee and a baked dessert for every meal. But then I would just be dehydrated and over sugared. Other pescetarian blogs such as The Pescetarian Pantry and The Pescetarian and The Pig have included their favourite fishless desserts, so here’s my very basic, yet very favourite recipe of the chocolate layer cake. I promise there is no surprise fish layer in this classic dessert. 

This recipe is inspired from William Sonoma’s cookbook Baking. While some of William Sonoma’s recommended baking techniques can be a little advanced, it does offer a nice selection of traditional baking recipes. And for goodness sake you do not require a $400 Kitchen-Aid mixer to be a culinary god/goddess…although I gaze far too long at their pastel green coloured stand-mixer in department stores. A 30 year old hand-me-down hand-mixer from your grandparents will work just fine.

For the cake:

1 3/4 cups of sifted cake flour (or regular)
1 teaspoon of baking soda
11/2 teaspoons of baking powder
1/2 cup of milk
3 ounces of unsweetened chocolate, coarsely chopped
1 cup of sour cream
1 cup of sugar
2/3 cup of firmly packed brown sugar
3/4 cup of softened butter
2 teaspoons of vanilla extract
3 eggs

For the icing:

1/2 cup of softened butter
4 cups of confectioners sugar
1/2 cup of baking cocoa
7 tablespoons of milk


Step: Baking the Cake

Preheat the oven to 350
ºF and grease two 9-inch round cake pans with butter, then lightly dust with flour.


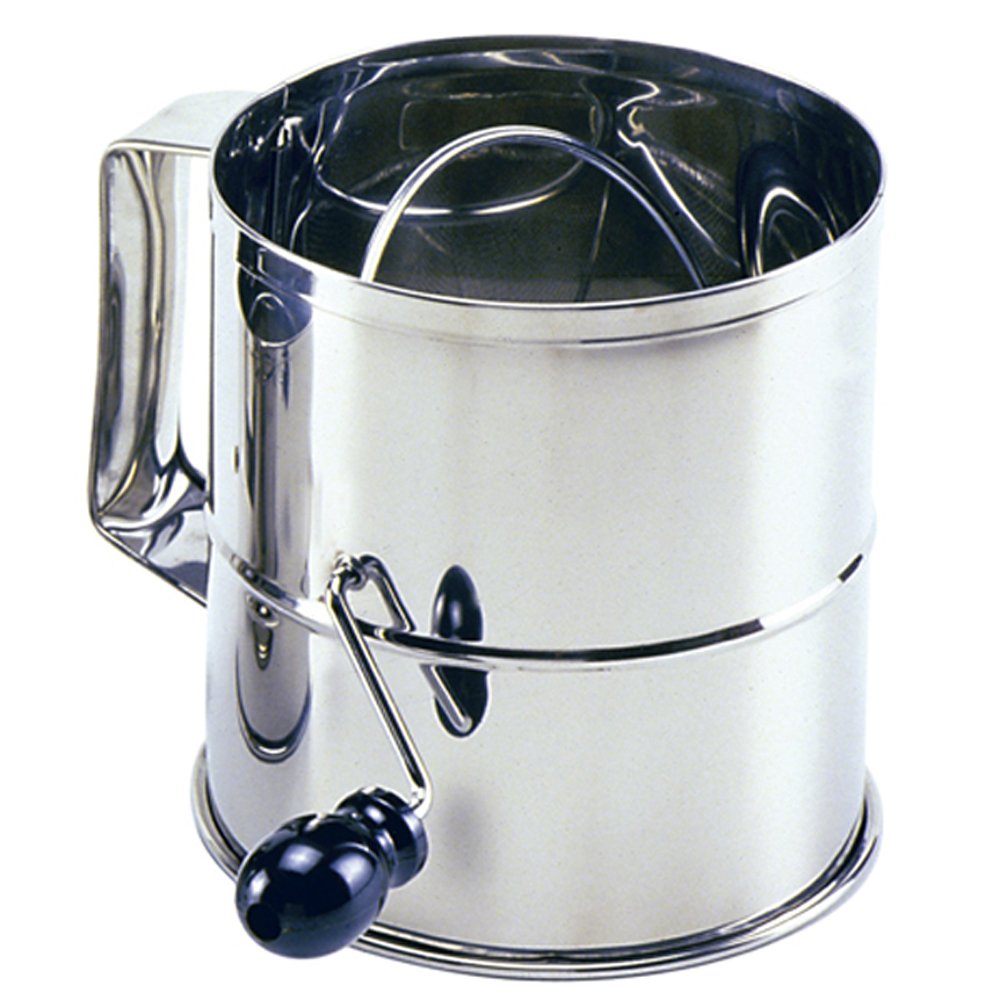
Sift together the already sifted 1 3/4 cups of cake flour (or regular flour), 1 teaspoon of baking soda, and 1 1/2 teaspoons of baking powder. Then set aside to later combine with your wet ingredients.
Most students or young adults don't own a proper flour sifter,  so I usually cheat by stirring anything that requires sifting with a fork. It will make the end product less fluffy, but you shouldn't notice a major difference.


In a small sauce pan, warm the 1/2 cup of milk over medium heat until small bubbles start to appear around the edges. Remove from the burner and whisk 3 ounces of chopped unsweetened chocolate in the pot. 


Mix until chocolate is melted and the texture is smooth. 


Once the milk and chocolate have completely cooled, add 1 cup of sour cream. Set aside.

Next, in a bowl, combine 1 cup of sugar, 2/3 cup of firmly packed brown sugar, and 3/4 cup of softened butter. Using a hand-mixer, beat on high speed for 3-5 minutes; until the sugar and butter are fluffy.


Reduce the mixer speed to medium and add 2 teaspoons of vanilla extract. Add 3 eggs, one at a time and beat well after each egg is added to the mix.

On low speed, add the flour mixture alternatively with the chocolate mixture, but mix only until the ingredients are gently combined.  


Pour and scrape every last drop of batter into the two greased and floured 9 inch cake pans, smoothing the tops with a spatula. 

Bake at 
350ºF for 30-40 minutes. After 30 minutes, insert a toothpick into the centre of the cake pan. If it comes out clean, your cakes are finished. If it comes out with batter, leave them to bake for another 5 minutes and test again with a new toothpick.

Let cakes sit in pans for 5-10 minutes, then transfer to a wire rack (or two dinner plates) to cool. 


It usually takes 3-4 hours for a cake to completely cool after baking. Be sure they aren't warm before icing each layer as the icing will melt.
Since I was in a hurry, I cooled my cakes on the window sill to speed up the process. You can also place them in the freezer, but don't leave them for too long. Otherwise, they will become firm and loose their fluffy texture. 


Step 2: Preparing the Icing

While the cakes are cooling, it's time to whip up some icing!
In a large bowl, use a hand-mixer to beat 1/2 cup of softened butter on low speed; just until it's fluffy. Add 4 cups of confectioners sugar and 1/2 cup of cocoa powder. One tablespoon at a time, add the milk. Your icing shouldn't be too thick, but be sure it's not too milky either. 


Step 3: Ice the Cake


Choose the plate you would like the cake to be presented on. To prevent a "messy" look of having icing marks along the base of the cake, place 4 strips of wax paper or tin foil along the edges of the cake plate. Set the bottom layer of the cake on top of the strips.

Using a knife with lots of width (I just use a butter knife) ice the top and sides of the first layer.


Carefully place the second layer on top of the iced bottom half of the cake. Be sure the gap between layers is smoothly iced over before applying icing to the top of the cake. 

Slide the tin foil or wax paper strips from the base. Garnish the cake with some milk chocolate shavings and a strawberry. If you're feeling decadent, serve with sliced strawberries and/or a mixed berries along with a dab whip cream, and cup of black coffee. 


TIP: I baked this cake to congratulate friends on their recent engagement (Yay, Jer and Erika!) but it's also a great follow-up to any home-made dinner.

Saturday, November 16, 2013

Miraculously Easy Mac & Cheese

Most pescetarians should know that we can’t eat fish all the time. High mercury levels in large fish compromise our reliance on fish for our daily intake of protein. While the benefits of eating fish seem countless, we should only allow ourselves to have it three times a week: 10 Things You Didn't Know About Tuna.

When I have a fishless meal, I tend to look for the easy fix: vegetables, pasta, and tomato sauce. Repeat x 4. But fishless dinners need not be so sad!

Macaroni and cheese should defiantly be a staple in every household's weeknight dinner routine. While it’s definitely not the healthiest meal, using whole grain pasta offers a few extra grams of protein per serving. Cheese is also a great way to secure some dairy protein throughout the day, but not necessary good for the waist line. Everything in moderation, my friends.

This recipe is based off Weelicious’ Classic Macaroni and Cheese. I've served this meal at least once to all my friends who have come over for dinner. Having made this recipe roughly 20 times, it’s become my specialty. It’s a great dish to bring to a large family gathering or a late night study session with friends.

It serves approximately 6-8 people.
Warning: this Mac & Cheese dish is highly addictive during meal times, so be sure to make extra if you’re serving a large crowd.


You’ll need:

4  tablespoons of unsalted butter
1 cup of breadcrumbs
4 1/2 cups of shredded cheddar cheese
1/4 cup of grated Parmesan cheese
3 tablespoons of flour
3 cups of milk
1/2 cup of reserved pasta water
1 pound of macaroni (shells, rotini, and cavatappi can also be used)
Dried herbs (basil, thyme, or parsley)
Pepper


Preheat the oven to 400ºF and grease a 9 by 12 inch baking dish.


Cook the pasta in salted water (only a dash is necessary) for approximately 3 minutes less than the package instructs.
I use whole wheat pasta for the extra protein. Remember to also save 1/2 cup of the pasta water.

Next, prepare the topping for the macaroni and cheese which will be sprinkled on prior to baking. Combine 1 tablespoon of melted butter, 1 cup of breadcrumbs, 1/2 cup of shredded cheddar cheese, and 1/4 cup of grated Parmesan cheese. Set aside.
Sometimes I use Italian seasoned breadcrumbs to change the flavour of the meal. Plain, seasoned, and panko bread crumbs work for this recipe.

Your pasta should be almost finished boiling. Drain the pasta and set aside, along with the 1/2 cup of reserved pasta water. 


In a large pot, melt 3 tablespoons of butter. The bigger the pot, the better since you'll be combining the cheese sauce and pasta together in the same pot. 

Then add 3 tablespoons of flour, whisking continuously over medium heat for approximately 3 minutes. 

1 cup at a time, whisk in the 3 cups of milk and bring to a boil. Reduce the heat and simmer for 3-4 minutes, whisking occasionally. The sauced should be getting thicker within 3 minutes. 

Add the 1/2 cup of reserved pasta water and 4 cups of cheddar cheese, whisking until melted. Then stir in the pasta.


Transfer your pot of glorious cheesy pasta into the 9 by 12 inch greased baking dish. Spread the mix of bread crumbs and cheese across the top and feel free to sprinkle on any dried basil, parsley, or thyme. I like to add some freshly ground pepper on the top, as well.


Bake at 400ºF for 30 minutes and let cool for about 10 minutes before serving.


Serve with some sliced tomato or a salad and enjoy!

TIP: Even if you aren't feeding an army of friends or fellow students, this dinner makes great leftovers for lunches throughout the week. Bring it to school to microwave or fry up some leftovers at home using a fry pan for some extra crispiness.

Keep an eye out for my next post on a delicious chocolate cake recipe that is an epic follow-up to this cheesy dish.

Wednesday, November 6, 2013

Speedy Seafood Dinner

Frozen seafood is my personal “go to” fish protein throughout the week. It’s quick to thaw, fun to flavour, and relatively cheap if you stock up during supermarket sales. You can whip up this meal after a long day of classes, eat like a king, and still have time to tackle your evening schedule.
This simple recipe is inspired by Nigella Lawson’s cookbook Kitchen which is full of lots of quick and delicious recipes for all foodies. It will serve approximately 2-4 people, but can be stretched to 6 if served with pasta.

2 tablespoons of olive oil
4 garlic cloves, minced
6 spring onions, finely sliced
½ teaspoon dried tarragon
125 ml dry vermouth or dry white wine
1 x 227g can chopped tomatoes (i.e. ½ regular can)
1 teaspoon sea salt
400g frozen mixed seafood
Fresh herbs, to serve (optional)

        Warm the olive oil in a large fry pan (with high edges) over medium heat and fry the spring onions and dried tarragon for a minute or so. If you don’t have tarragon in the kitchen, use dried basil as a substitute.


        Add vermouth (or wine) and let bubble for a minute, then add the tomatoes and let it all come back to a boil. Add ½ teaspoon of sea salt. Table salt works too, but sea salt has less severe taste and it’s better for you!


       Turn up the heat to high, add the frozen seafood and bring pan back to a boil, then turn down the heat to medium and simmer until the seafood is hot and cooked through, which should take only 3 or 4 minutes (or according to package instructions). If you’re like me and buy seafood on sale, you won’t necessarily have a package of assorted seafood ready to go. I used handfuls of shrimp, mussels, and scallops instead.


       This a good time to put some pasta on the stove or warm up some crusty bread to serve with your savory seafood dish.

        Cut up fresh herbs to garnish your plate. Since I used dried basil, I chopped some fresh basil to place on top or beside my meal. One fun way to this is by rolling your basil leaves into a roll, and slicing them to create little spirals.


        Season with pepper to taste, and add the rest of the salt if required, and sprinkle with any available herbs.


      Serve with a nice bottle of white pinot grigio and enjoy!

TIP: Leftovers from this recipe are delicious, but don't keep remaking this tasty meal because it's quick to make. Eating this dish for seven days in a row made me cringe at the very thought of seafood pasta. So keep it fresh, and keep reading for more savory meal ideas during the semester crunch!

Friday, November 1, 2013

A Little About Me:

My name is Alex and I’m going to post-secondary school for a third round this year. After marrying at 22, my husband and I were Toronto bound where he finished law school and I tried to get a job. It wasn't long until I was commuting like a sardine on the subway. During one morning commute, I noticed posters with a picture of puppy and caff which said “why love one but eat the other?” I read different versions of the poster every day, which kept me wondering “do I really want to be a vegetarian?”

The "Be Veg" subway ad campaign  sparked an internal question I had been asking for years. I attempted vegetarianism for 6 months in my third year of university, until one dark and rainy night. My friend and I had just submitted a 3000 word essay on Henry Fielding’s Joseph Andrews and in the name of victory I made her walk with me for 20 minutes in the rain to pursue some 60 cent chicken wings. I ate hamburgers every day for a week after that.

While my husband and I both love a medium-rare prime rib roast and extra saucy chicken wings, we didn't want to feel entirely deprived of meat protein, so we decided to go pescetarian.  


According to Merriam-Webster, a pescetarian is defined as “one whose diet includes fish but no other meat.” In other words, a vegetarian who eats fish.

I’ve been exploring my moral logic behind eating fish rather than other meats. Truth is I still don’t know, but for some reason fish and seafood are okay right now. One day, maybe I’ll make the big leap and become a complete vegetarian, but my body feels nutritionally balanced when I include fish protein in my diet.

So with this blog, I bring to you recipes for students who have chosen the pescetarian path. Our pockets are not deep my friends, but we can still eat well on a dime! Stay tuned for some succulent recipes and kitchen tips you may find useful for creating some tasty yet budget friendly pescetarian meals.