It may be surprising, but being a pescetarian has not affected my freedom of
choice when it comes to dessert. If I could, I would have a cup of coffee and a
baked dessert for every meal. But then I would just be dehydrated and over sugared.
Other pescetarian blogs such as The Pescetarian Pantry and The Pescetarian and The
Pig have included their favourite fishless desserts, so here’s my very basic,
yet very favourite recipe of the chocolate layer cake. I promise there is no
surprise fish layer in this classic dessert.
This recipe is inspired from William Sonoma’s cookbook Baking. While some of William Sonoma’s recommended baking techniques can be a little advanced, it does offer a nice selection of traditional baking recipes. And for goodness sake you do not require a $400 Kitchen-Aid mixer to be a culinary god/goddess…although I gaze far too long at their pastel green coloured stand-mixer in department stores. A 30 year old hand-me-down hand-mixer from your grandparents will work just fine.
For the cake:
1 3/4 cups of sifted cake flour (or regular)
1 teaspoon of baking soda
11/2 teaspoons of baking powder
1/2 cup of milk
3 ounces of unsweetened chocolate, coarsely chopped
1 cup of sour cream
1 cup of sugar
2/3 cup of firmly packed brown sugar
3/4 cup of softened butter
2 teaspoons of vanilla extract
3 eggs
For the icing:
1/2 cup of softened butter
4 cups of confectioners sugar
1/2 cup of baking cocoa
7 tablespoons of milk
Step: Baking the Cake
Preheat the oven to 350ºF and grease two 9-inch round cake pans with butter, then lightly dust with flour.

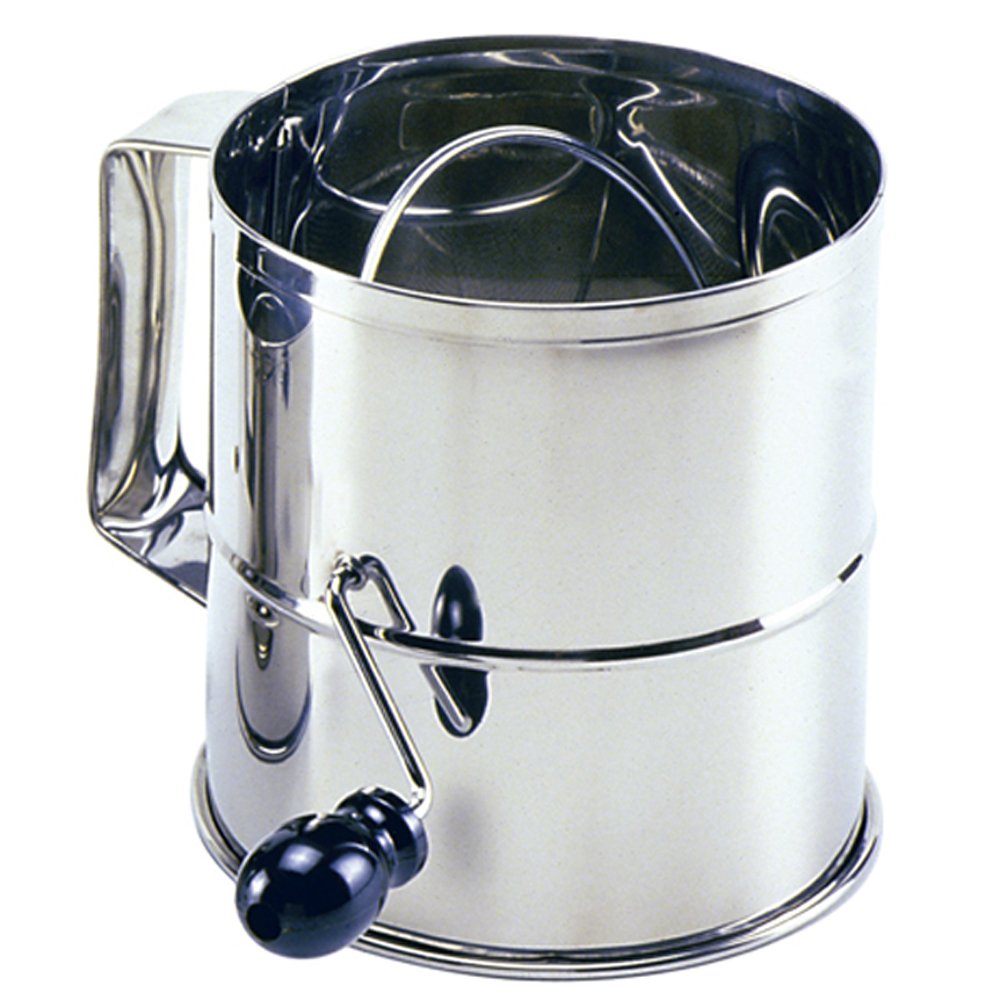
Sift together the already sifted 1 3/4 cups of cake flour (or regular flour), 1 teaspoon of baking soda, and 1 1/2 teaspoons of baking powder. Then set aside to later combine with your wet ingredients.
Most students or young adults don't own a proper flour sifter, so I usually cheat by stirring anything that requires sifting with a fork. It will make the end product less fluffy, but you shouldn't notice a major difference.

In a small sauce pan, warm the 1/2 cup of milk over medium heat until small bubbles start to appear around the edges. Remove from the burner and whisk 3 ounces of chopped unsweetened chocolate in the pot.

Mix until chocolate is melted and the texture is smooth.

Once the milk and chocolate have completely cooled, add 1 cup of sour cream. Set aside.


Reduce the mixer speed to medium and add 2 teaspoons of vanilla extract. Add 3 eggs, one at a time and beat well after each egg is added to the mix.
On low speed, add the flour mixture alternatively with the chocolate mixture, but mix only until the ingredients are gently combined.


Pour and scrape every last drop of batter into the two greased and floured 9 inch cake pans, smoothing the tops with a spatula.

Bake at 350ºF for 30-40 minutes. After 30 minutes, insert a toothpick into the centre of the cake pan. If it comes out clean, your cakes are finished. If it comes out with batter, leave them to bake for another 5 minutes and test again with a new toothpick.
Let cakes sit in pans for 5-10 minutes, then transfer to a wire rack (or two dinner plates) to cool.

It usually takes 3-4 hours for a cake to completely cool after baking. Be sure they aren't warm before icing each layer as the icing will melt.
Since I was in a hurry, I cooled my cakes on the window sill to speed up the process. You can also place them in the freezer, but don't leave them for too long. Otherwise, they will become firm and loose their fluffy texture.

Step 2: Preparing the Icing
While the cakes are cooling, it's time to whip up some icing!
In a large bowl, use a hand-mixer to beat 1/2 cup of softened butter on low speed; just until it's fluffy. Add 4 cups of confectioners sugar and 1/2 cup of cocoa powder. One tablespoon at a time, add the milk. Your icing shouldn't be too thick, but be sure it's not too milky either.

Step 3: Ice the Cake
Choose the plate you would like the cake to be presented on. To prevent a "messy" look of having icing marks along the base of the cake, place 4 strips of wax paper or tin foil along the edges of the cake plate. Set the bottom layer of the cake on top of the strips.
Using a knife with lots of width (I just use a butter knife) ice the top and sides of the first layer.


Slide the tin foil or wax paper strips from the base. Garnish the cake with some milk chocolate shavings and a strawberry. If you're feeling decadent, serve with sliced strawberries and/or a mixed berries along with a dab whip cream, and cup of black coffee.

TIP: I baked this cake to congratulate friends on their recent engagement (Yay, Jer and Erika!) but it's also a great follow-up to any home-made dinner.